
Remember Wednesday's post? Ethan has this thing lately of watching you tube videos like this one. His favorites are watching the Crayola crayon maker and marker maker. We ended up buying the marker maker (that's another story), but decided that the crayon maker wasn't worth it. Plus, I had a heart crayon pin pinned since I started pinning things back when Pinterest started (how many times can you say pin or pinterest in a sentence?). This method was awesome! Ethan helped for pretty much everything, which is great. . . since they were for his Valentines.
Step 1: Gather up a bunch of unwrapped old crayons. Chop them up into small pieces (about 4-5 pieces from each crayon). Grab your silicon mold (I found mine at Walmart for less than $4! Total score!). Fill up mold as full as you can get mixing up the colors. the ones that look the best have both light colors mixed with dark colors. I did the chopping and Ethan did the filling.

Step 2: Bake in oven. 230 degrees for about 15-20 minutes worked great!! We put our mold on top of a cookie sheet to keep it flat.
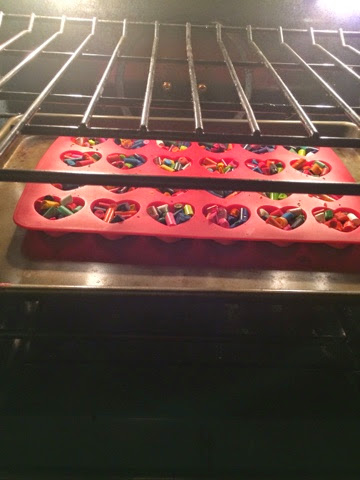
Step 3: Take it out of oven and let it sit for about an hour, or until completely cool and hard.
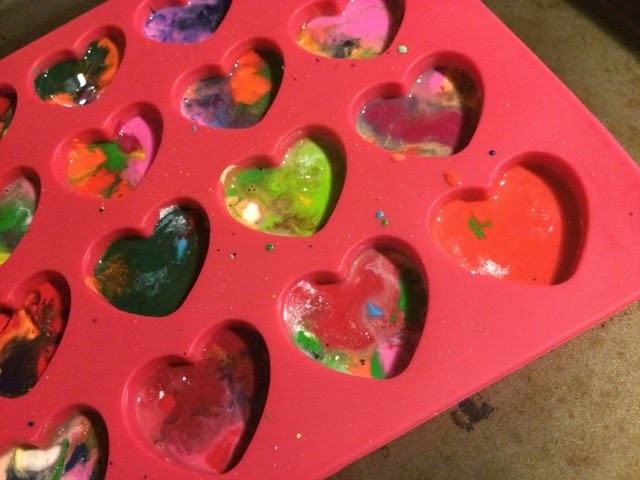
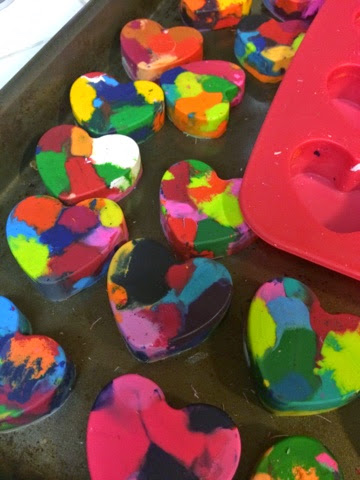
Step 4: Pop crayons out of the mold. Color or wrap to give away!
Happy Crayon making! And have a wonderful weekend!
No comments:
Post a Comment
I love hearing your comments and feedback. . . It makes my day!!!